Clutch Master Cylinder Replacement
Greg Ford - 1/21/2023
There are two versions of the Clutch Master Cylinder for years 1971 to 1974 and probably beyond.
My early 1972 Pantera has NO "effort reduction linkage" going to the clutch master cylinder. So mine requires part
number 05002A. Later Panteras with effort reduction linkage require part number 05002B. The cylinders of these two
part numbers are identical. The only difference is the push rod and everything attached to the push rod. The 05002A
push rod assembly is longer and has more machining done to it. So, 05002A is more than double the price of 05002B.
I purchased 05002B and moved my old push rod assembly to the new cylinder body. It does require a few modifications.
See below. But was worth the $200 dollars saved. Your mileage may vary. Its up to you. It seems like our vendors
mostly stock the later 05002B, so you might have to do what I am about to explain, anyways.
This is, by far, not the full procedure for replacing a clutch master cylinder. There are some things I will not talk about (ie: bleeding, etc.) but will show tricks I have incorporated into making this a simpler job for when it happens (and it will) again in the future.
Preparation includes removing the Drivers seat and, to not break my back, I built a platform high enough to be equal with the top of the rocker panel. This helps a lot. Also, I spread a white bed sheet onto the floor board and up the front of the foot well to catch the circlip which is on the pin connecting the clevis of the master cylinder to the arm which is part of the car's clutch pedal. In my case, it did go flying when popped off, but found it in the bed sheet. If you lose it, Home Depot has them.


Before I did anything, looking up into the pedal box, I noticed the clutch clevis, which has the pin and circlips on it, is very close and up above the noted sheet metal. Almost hidden and very hard to reach in this position to pull one of the circlips off.

So, I need to un-bolt the Master Cylinder and pull it out about an inch, which will center the clutch clevis in the opening. First, disconnect the copper hydraulic line. Best using a 12mm flare nut wrench.
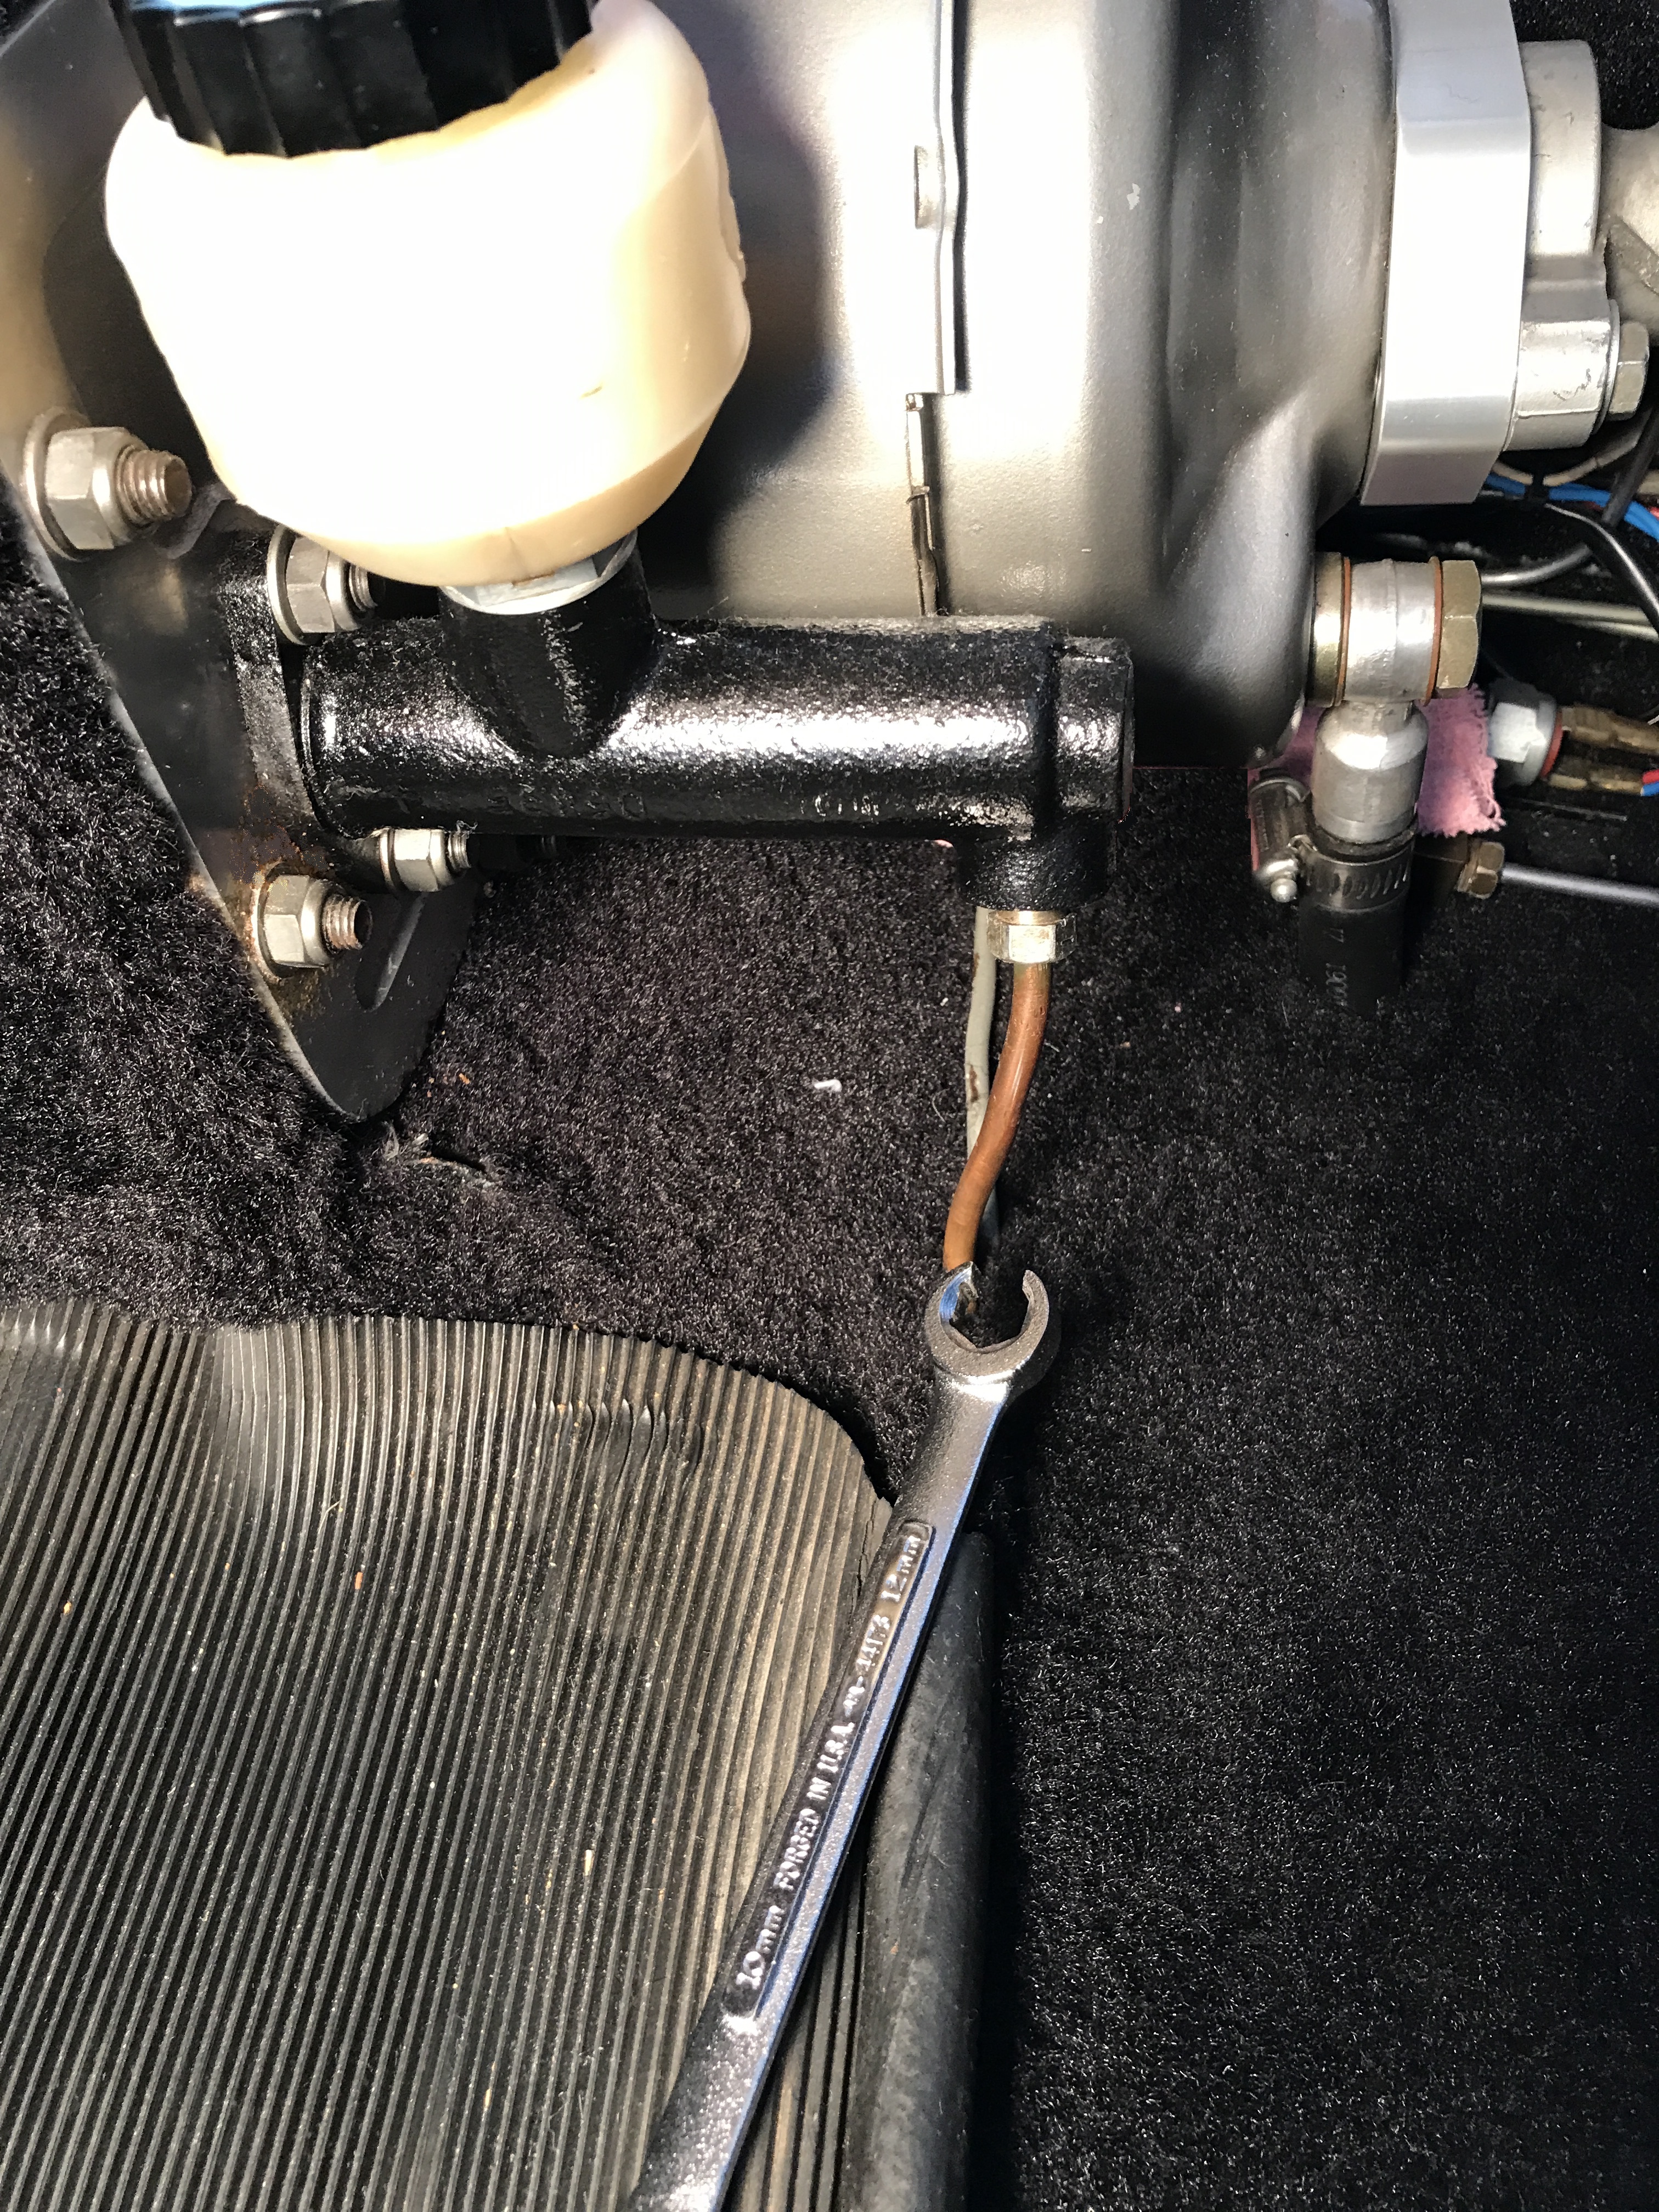
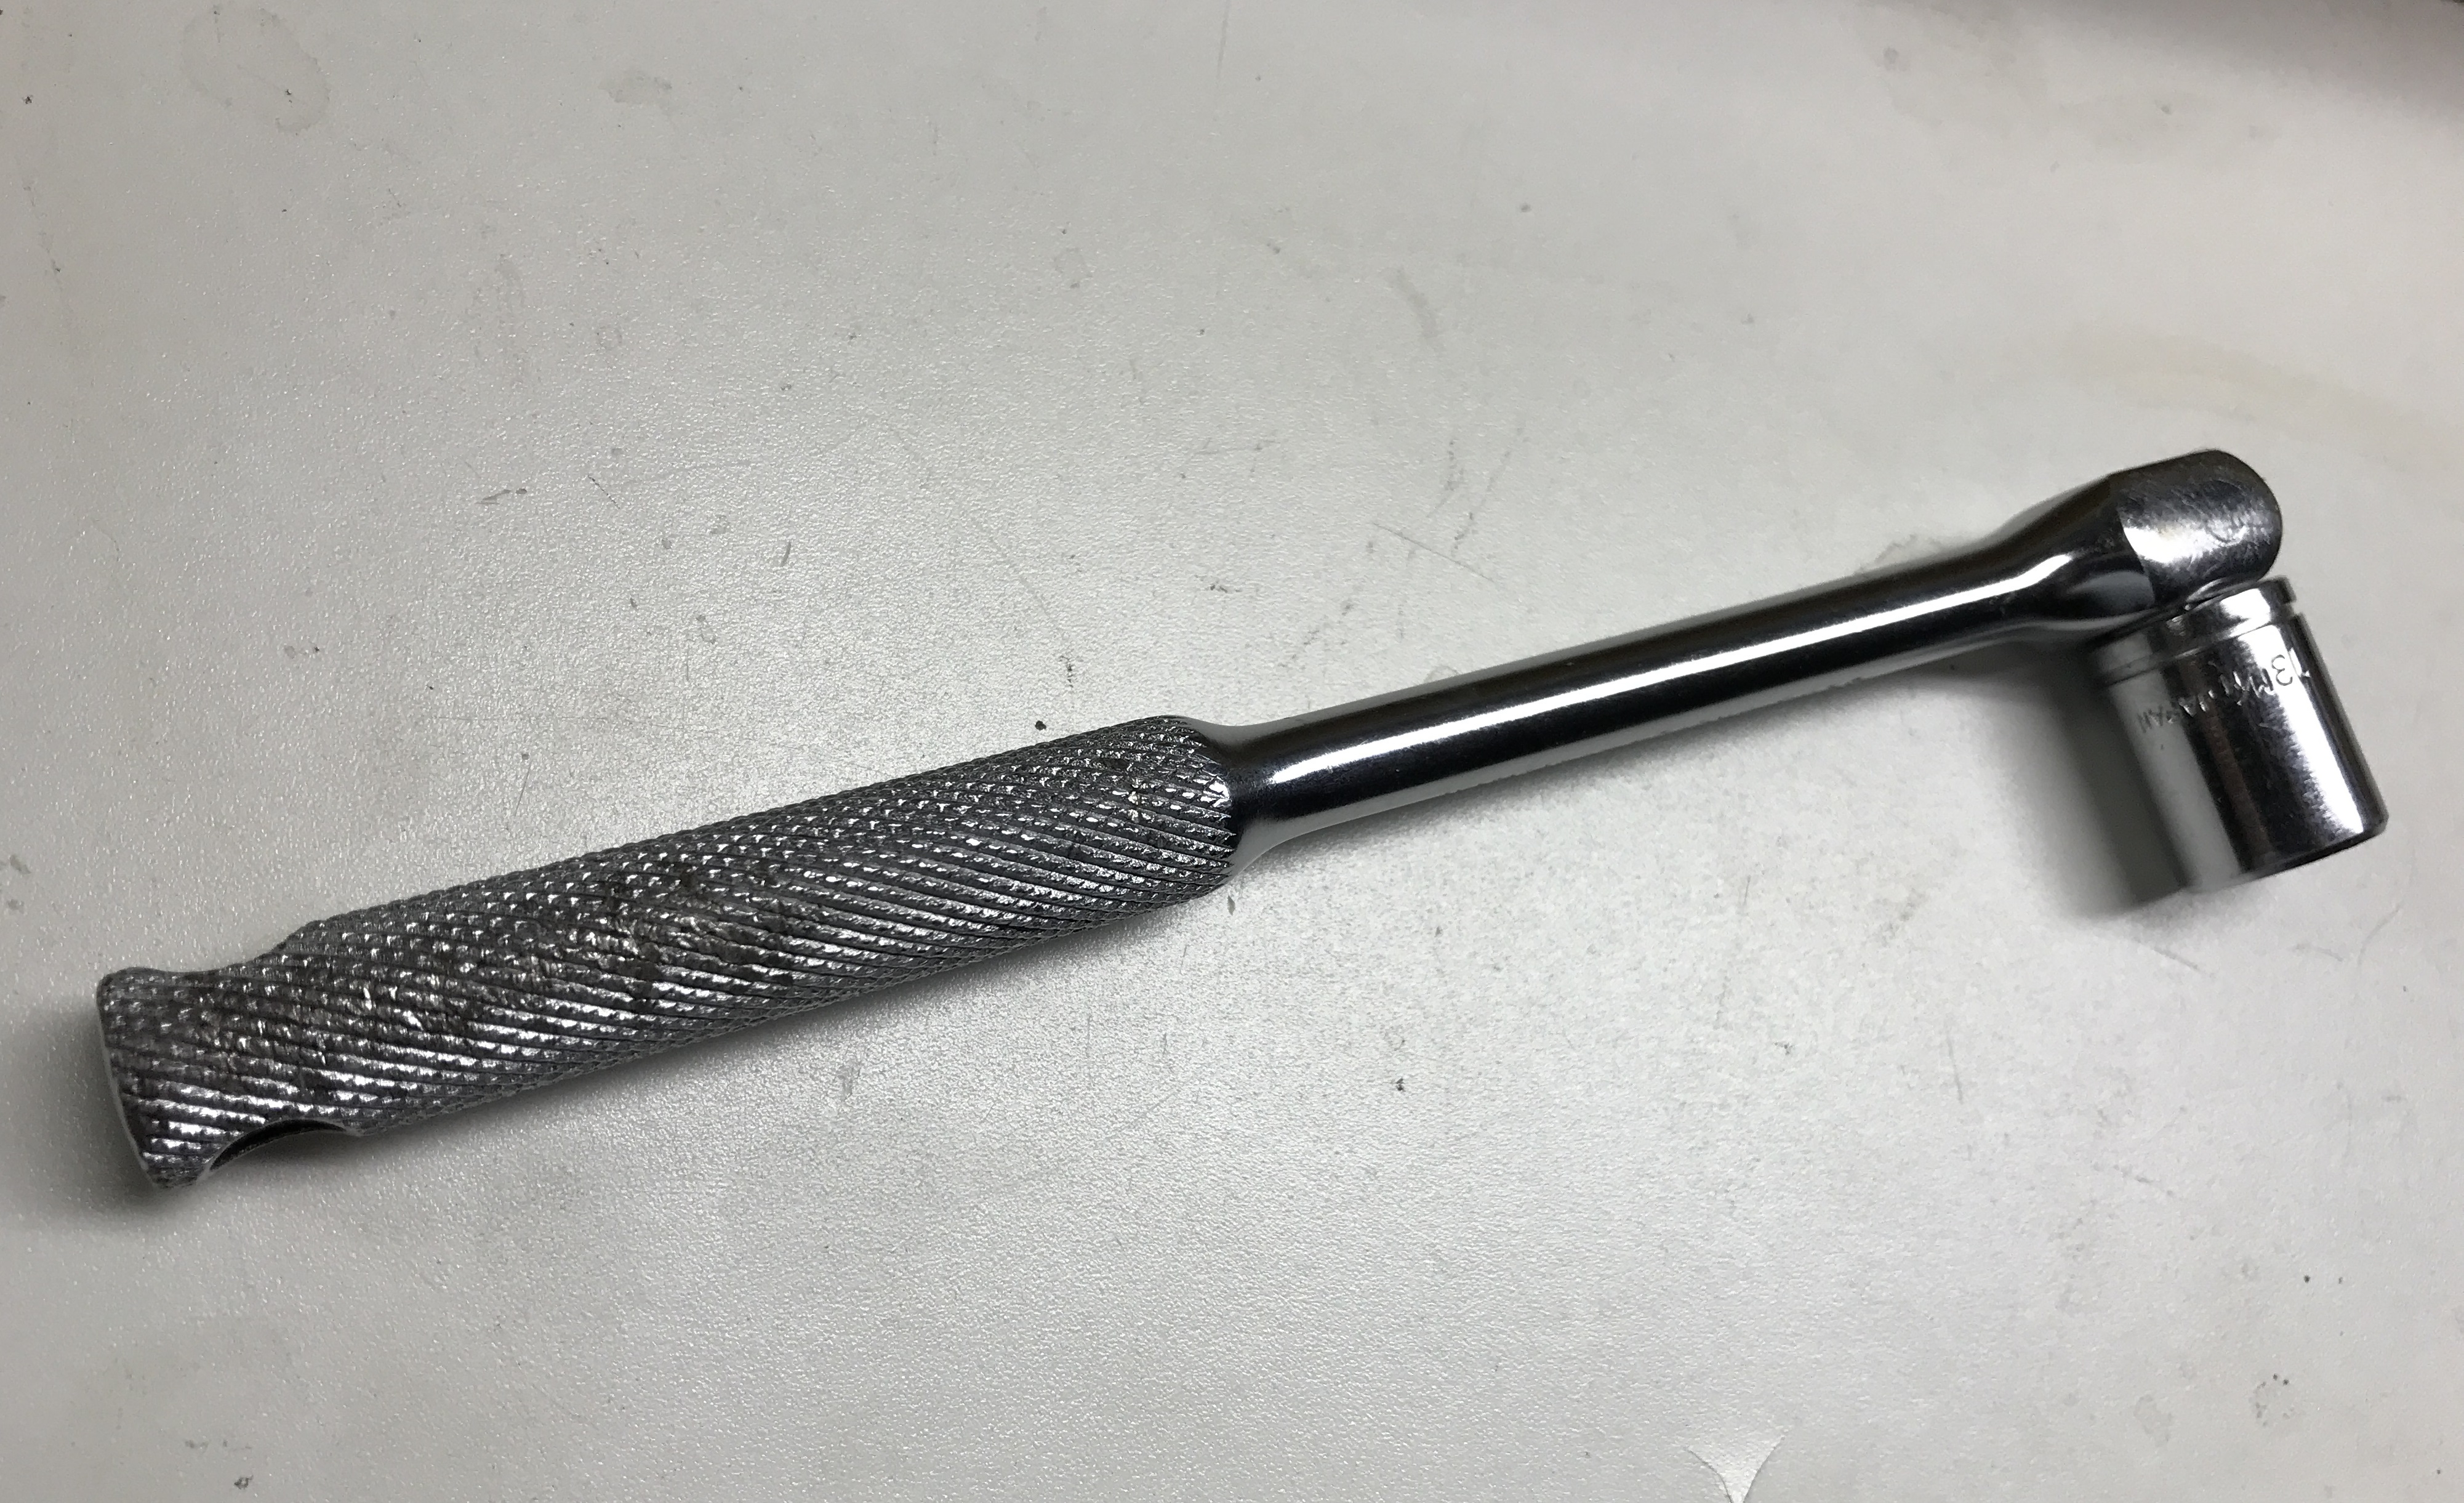
To remove the two 13mm mounting bolts and nuts, you will need to have someone hold the bolt heads inside the car. I used a socket and handle and taped the handle to the accelerator pedal.
Then pull the master cylinder out about an inch or so.

Now the circlip will be accessible.

I made this hook tool to pull the circlip off.

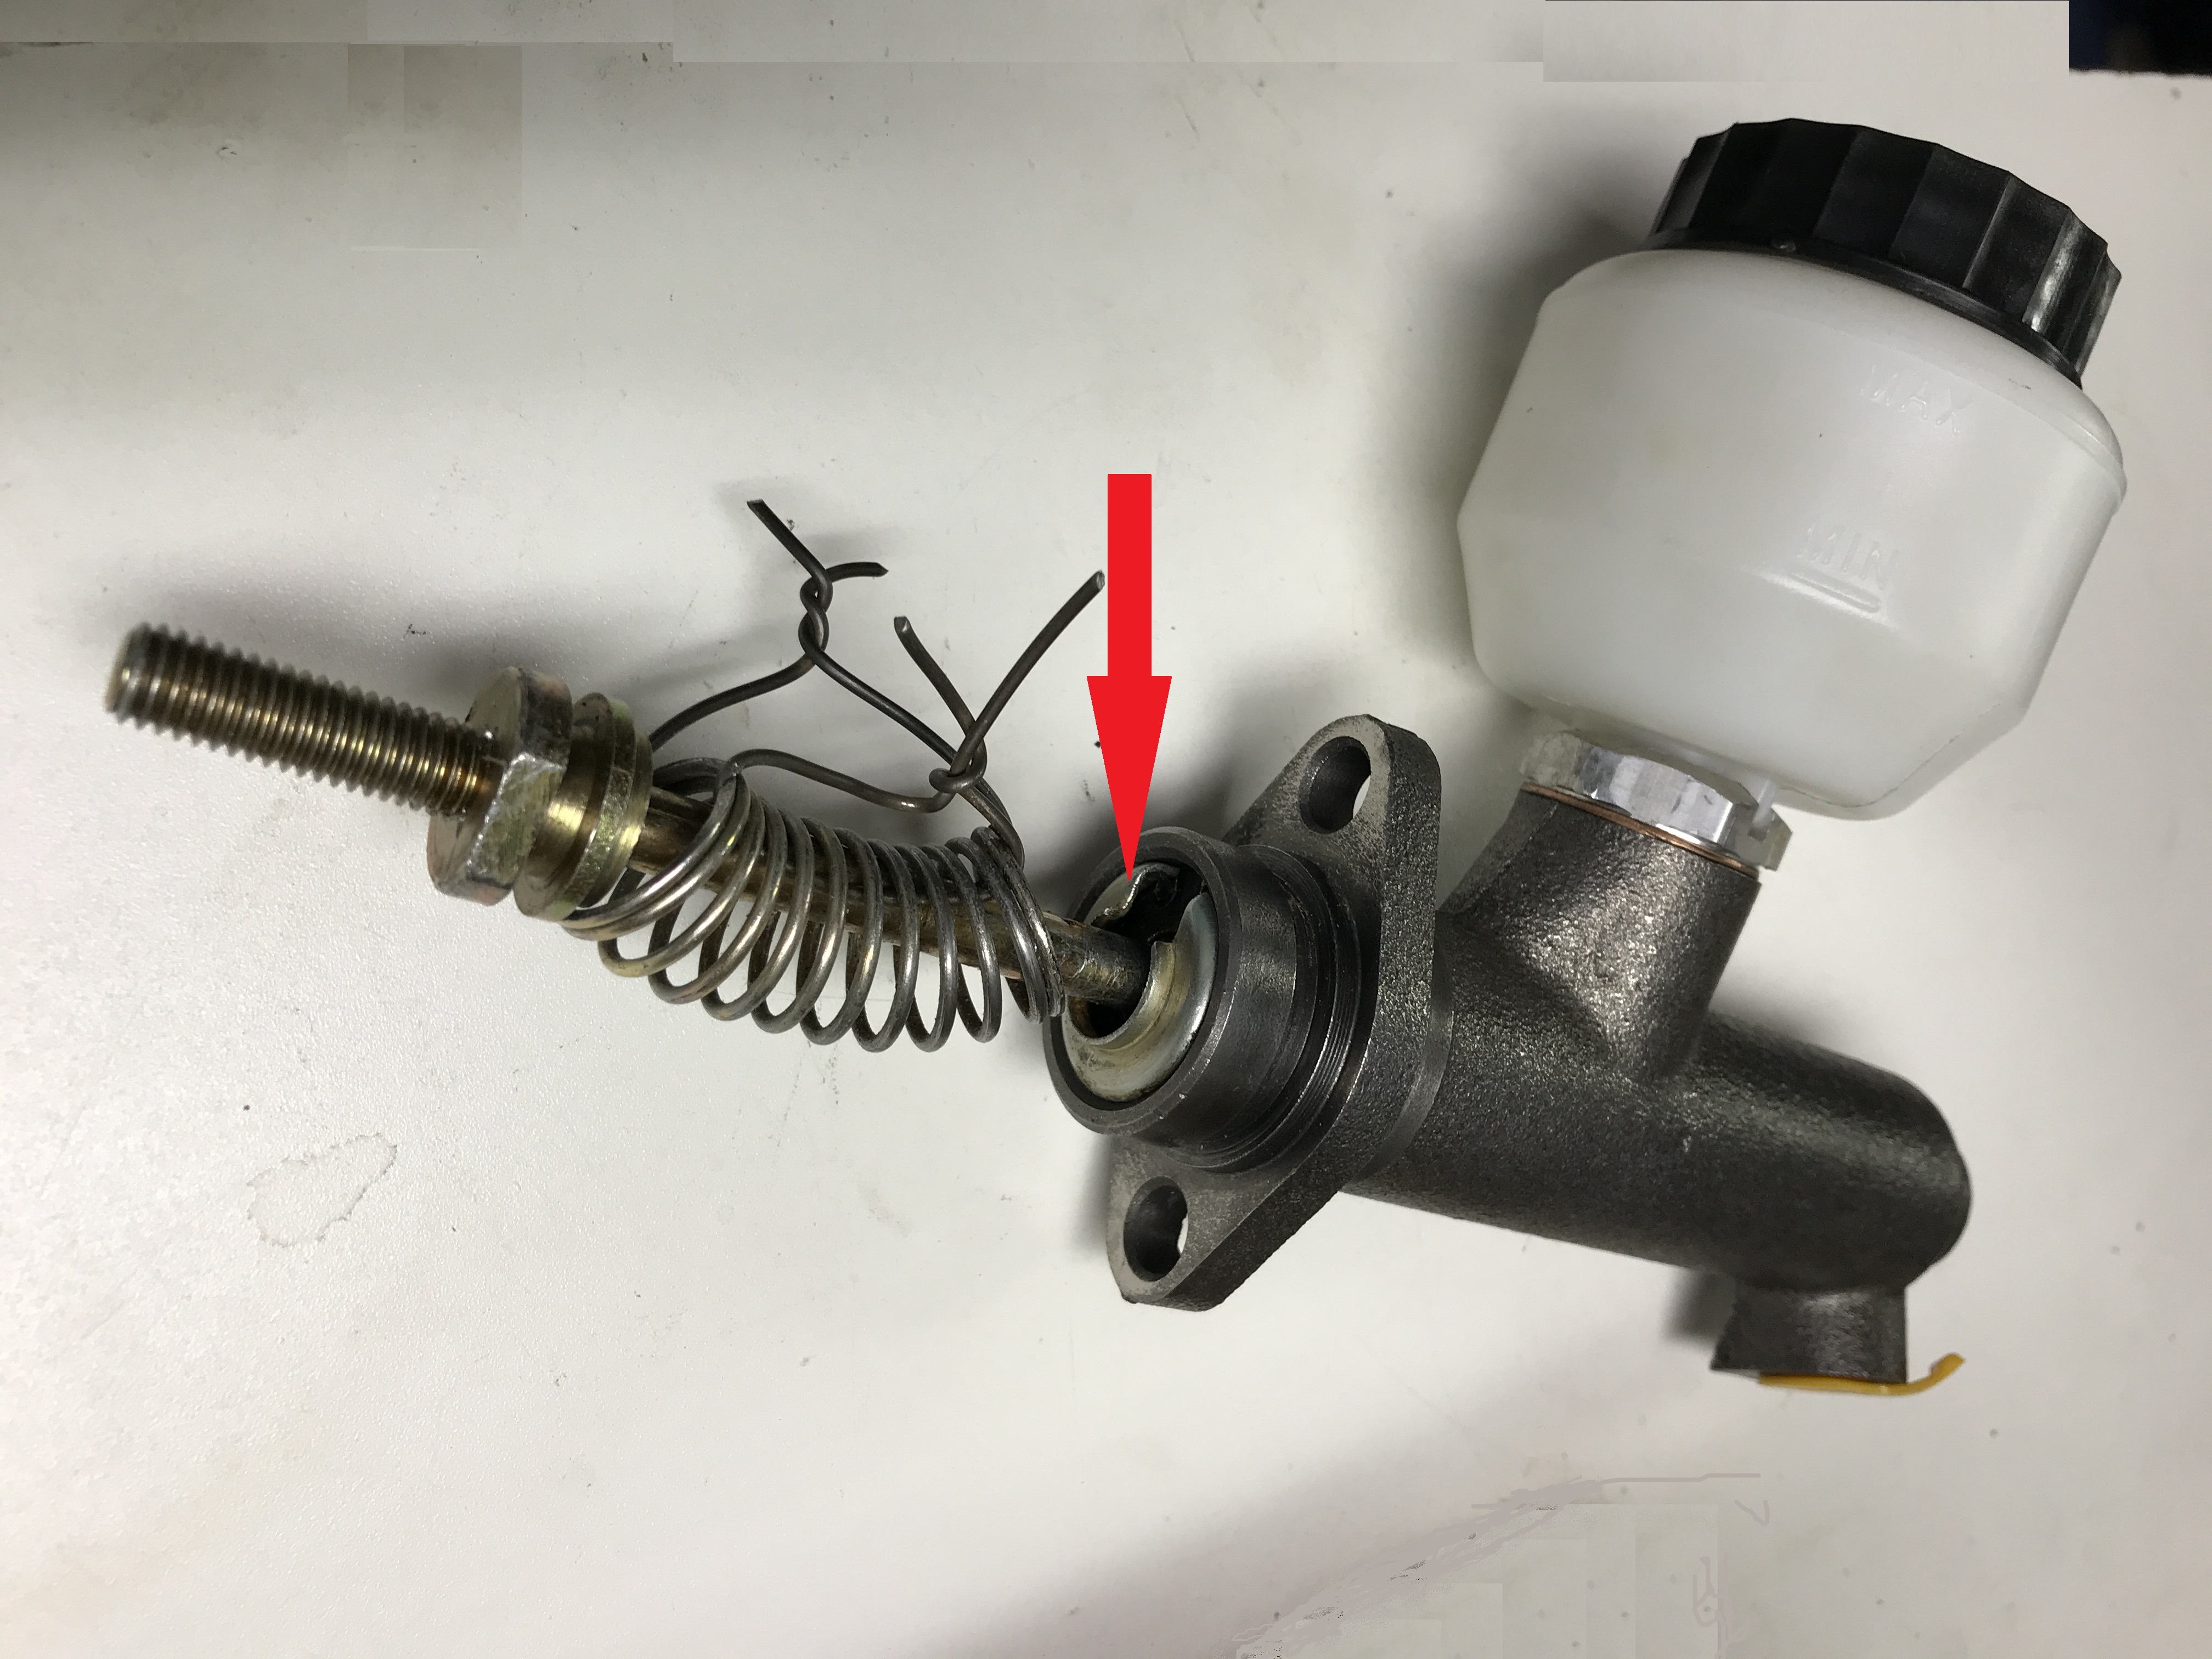
This is a comparison of the two available part numbers. Everything to the left is swapped to the new cylinder.

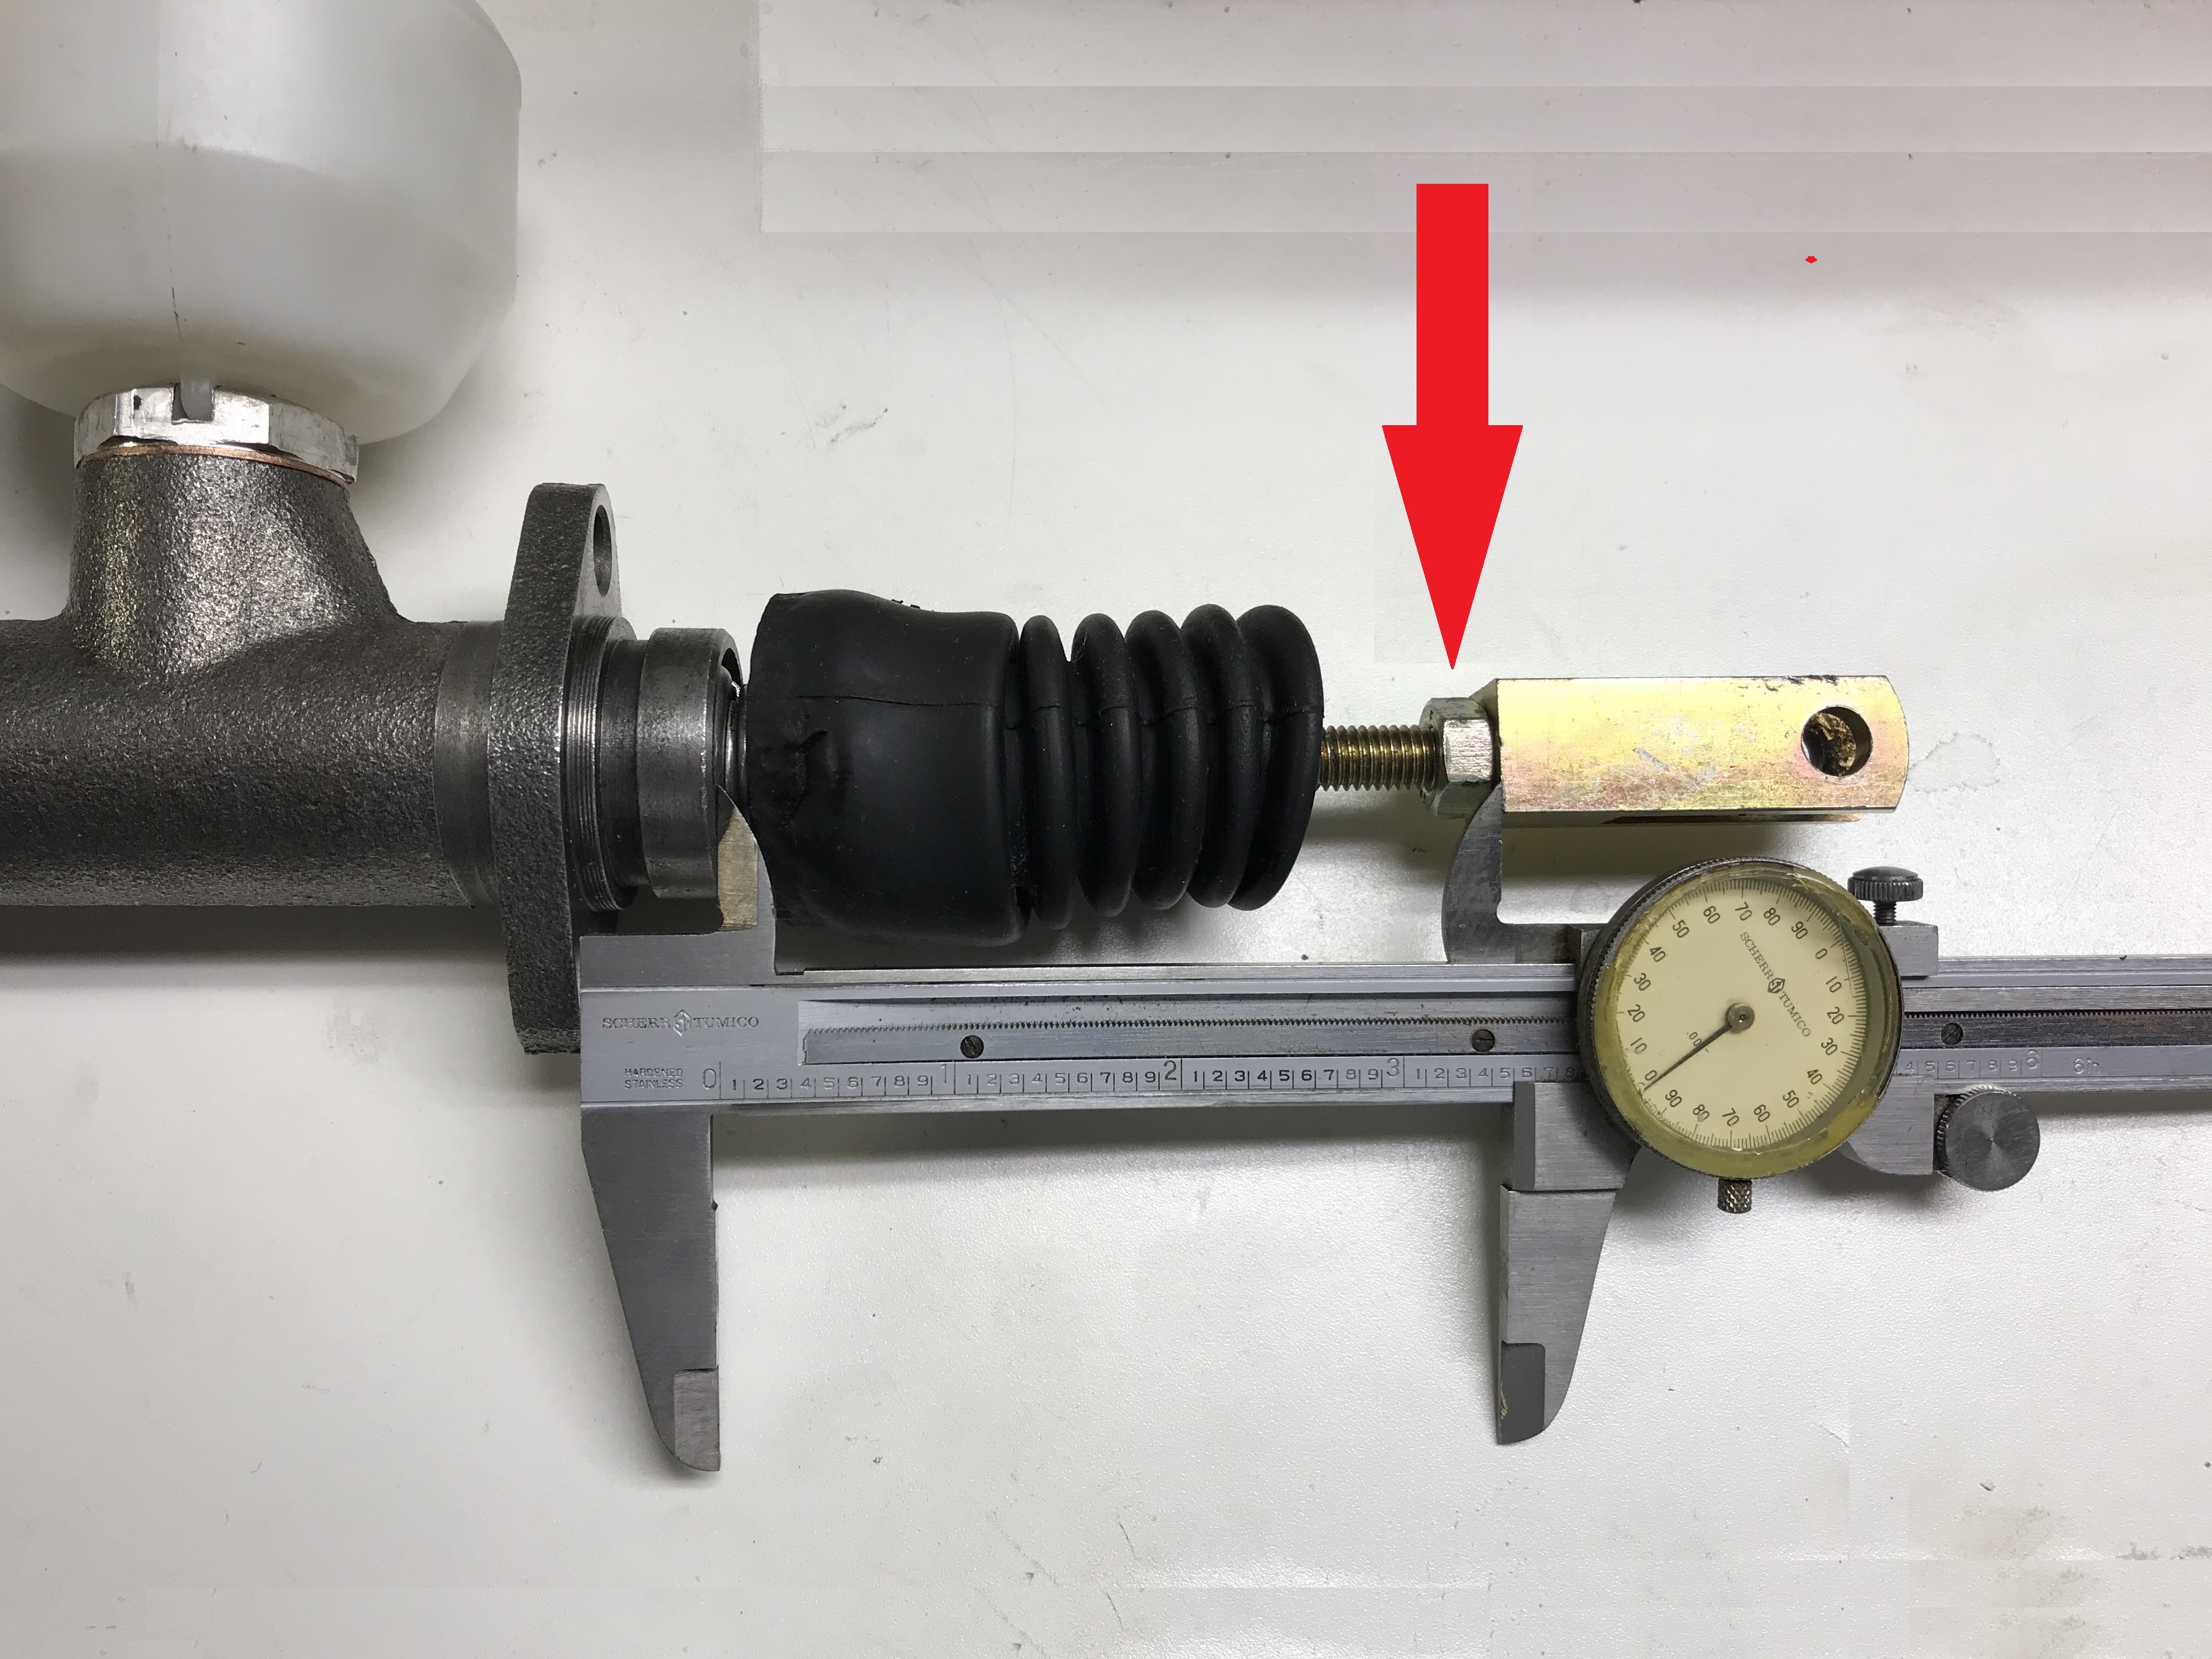
Before you start taking anything apart, measure the length of the assembled push rod so you can put it back to the same length when installed on the new cylinder. You have several different spots to get a measurement. You can see what I did. It was 3.500"
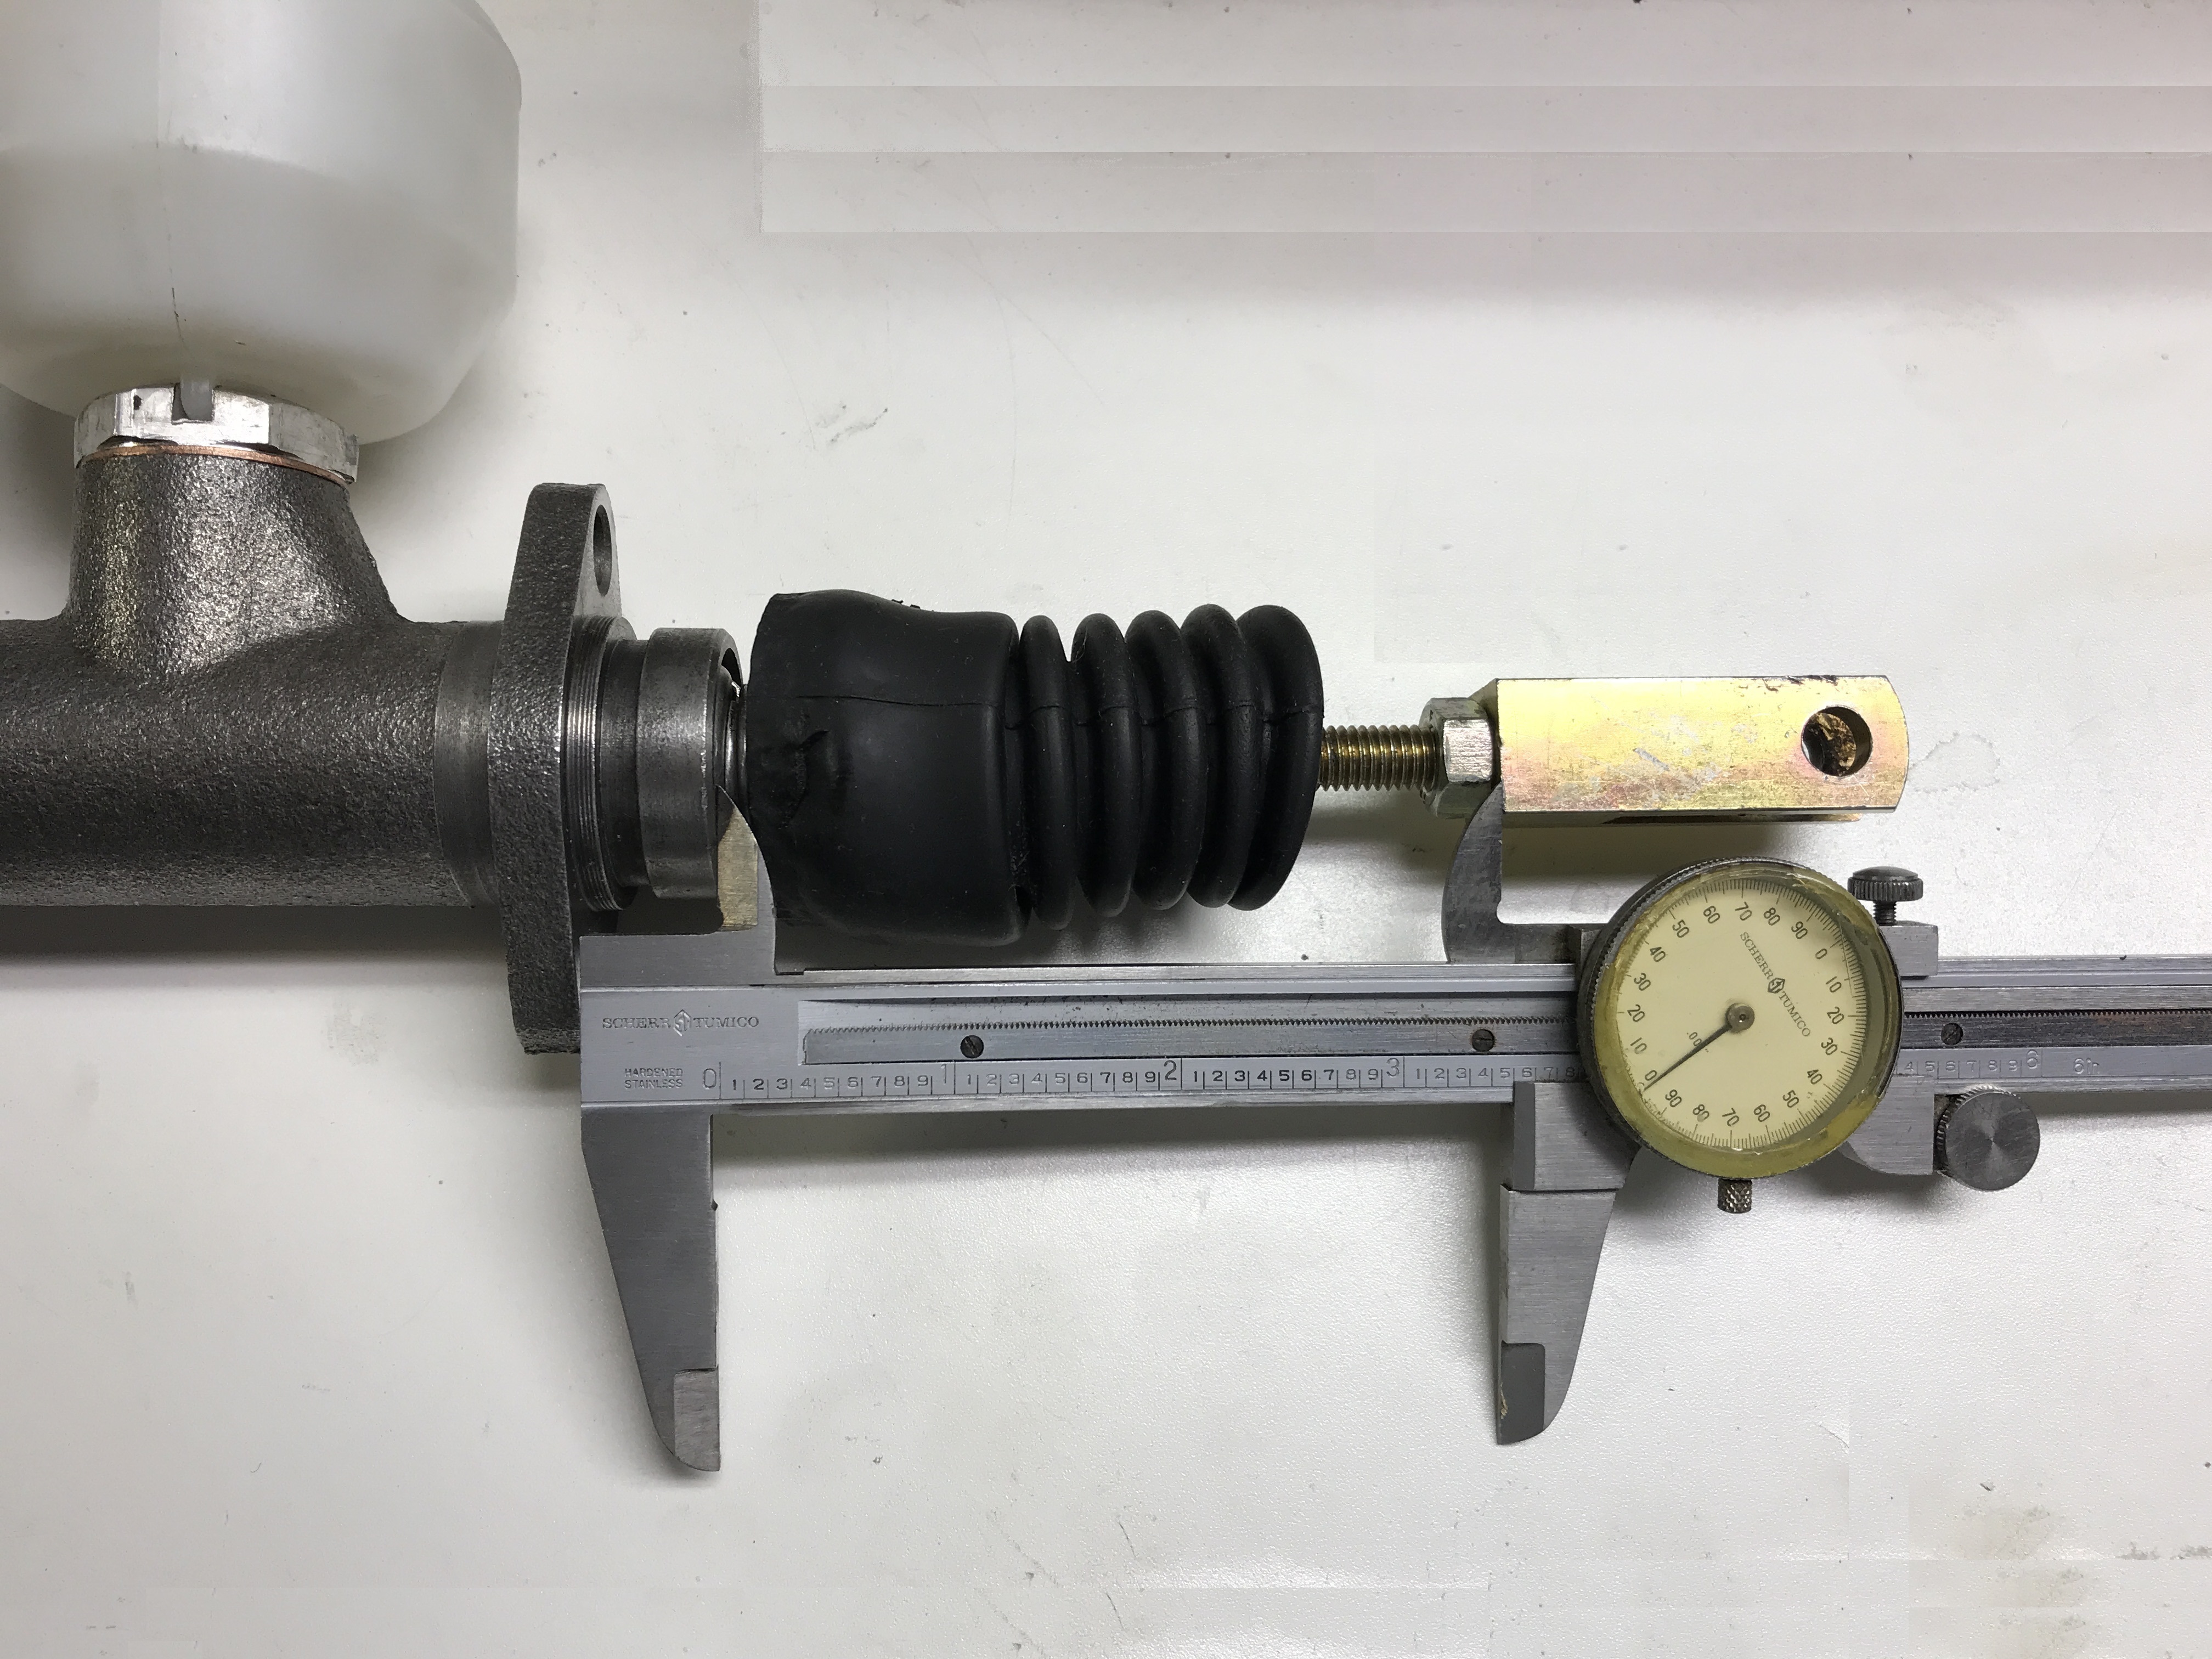
This is a close up of the two seals on the piston. Does anyone know of a source? The cylinder bore is .750"


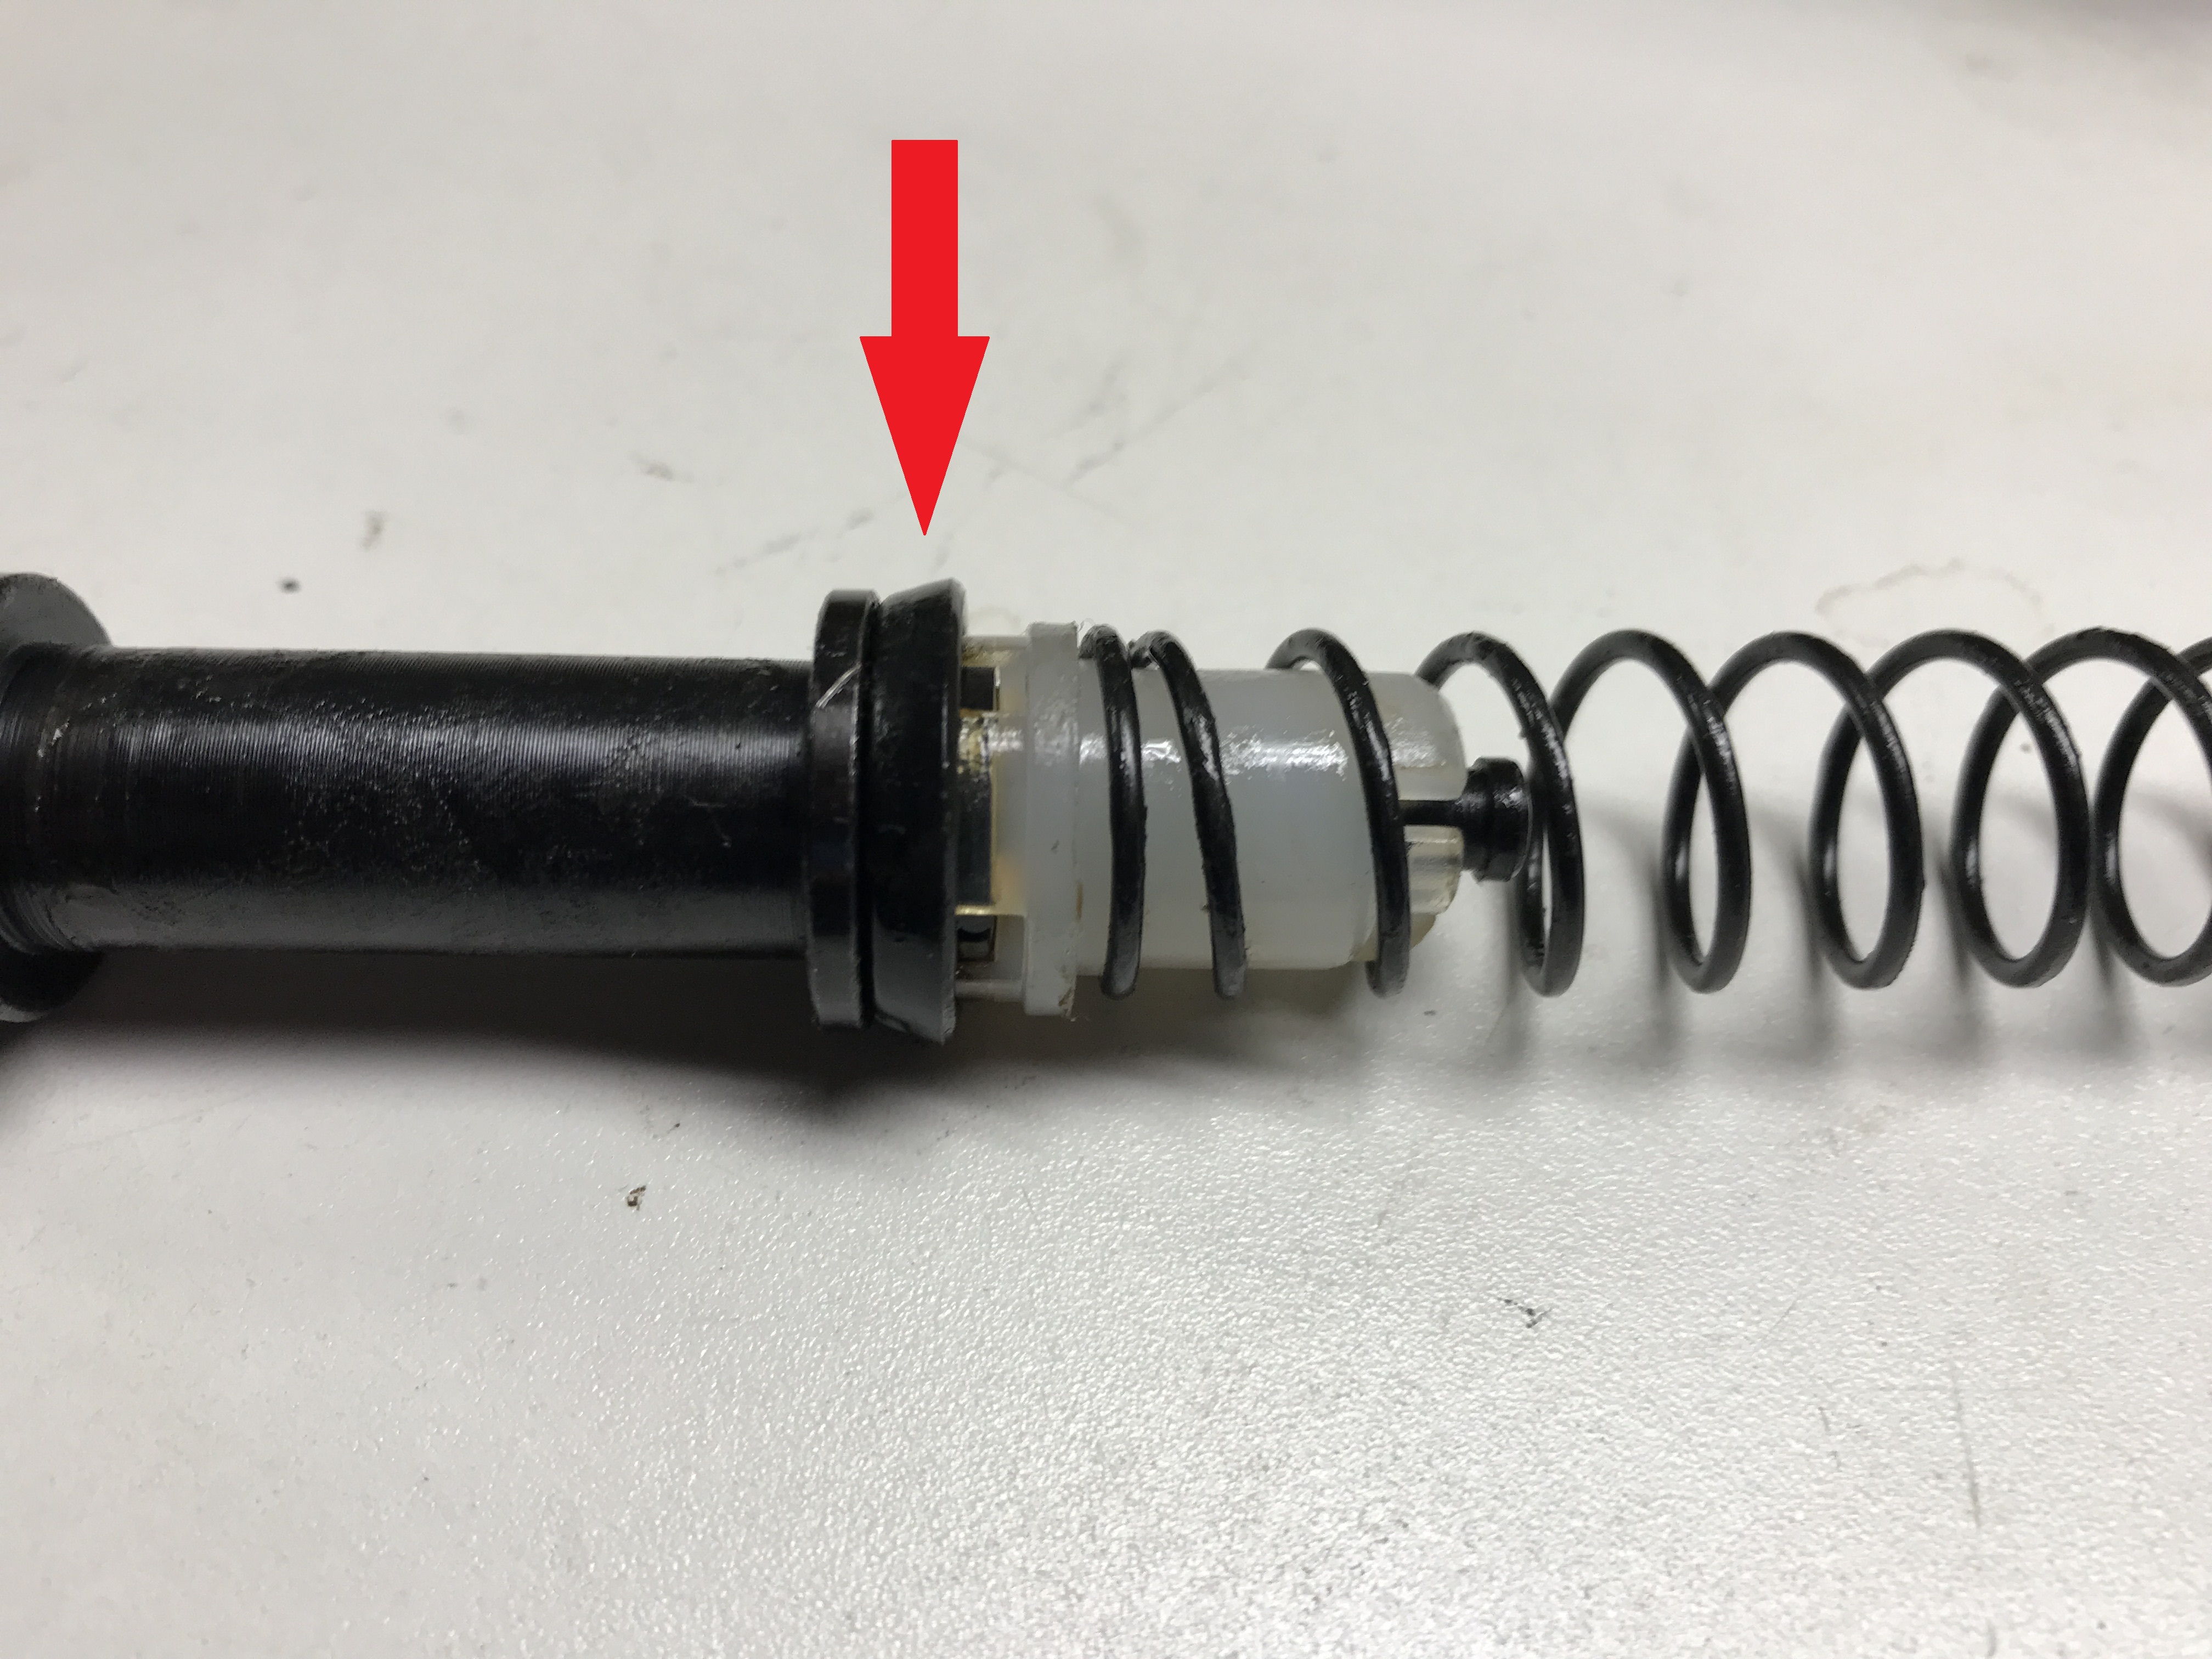
The washer had to be filed down to fit the new bore. It does not slide off the rod. I used a file and took it down with it on the push rod. It took about 15 minutes. Upon assembly, put a dab of wheel grease on the end of the push rod where it contacts the cylinder's piston.
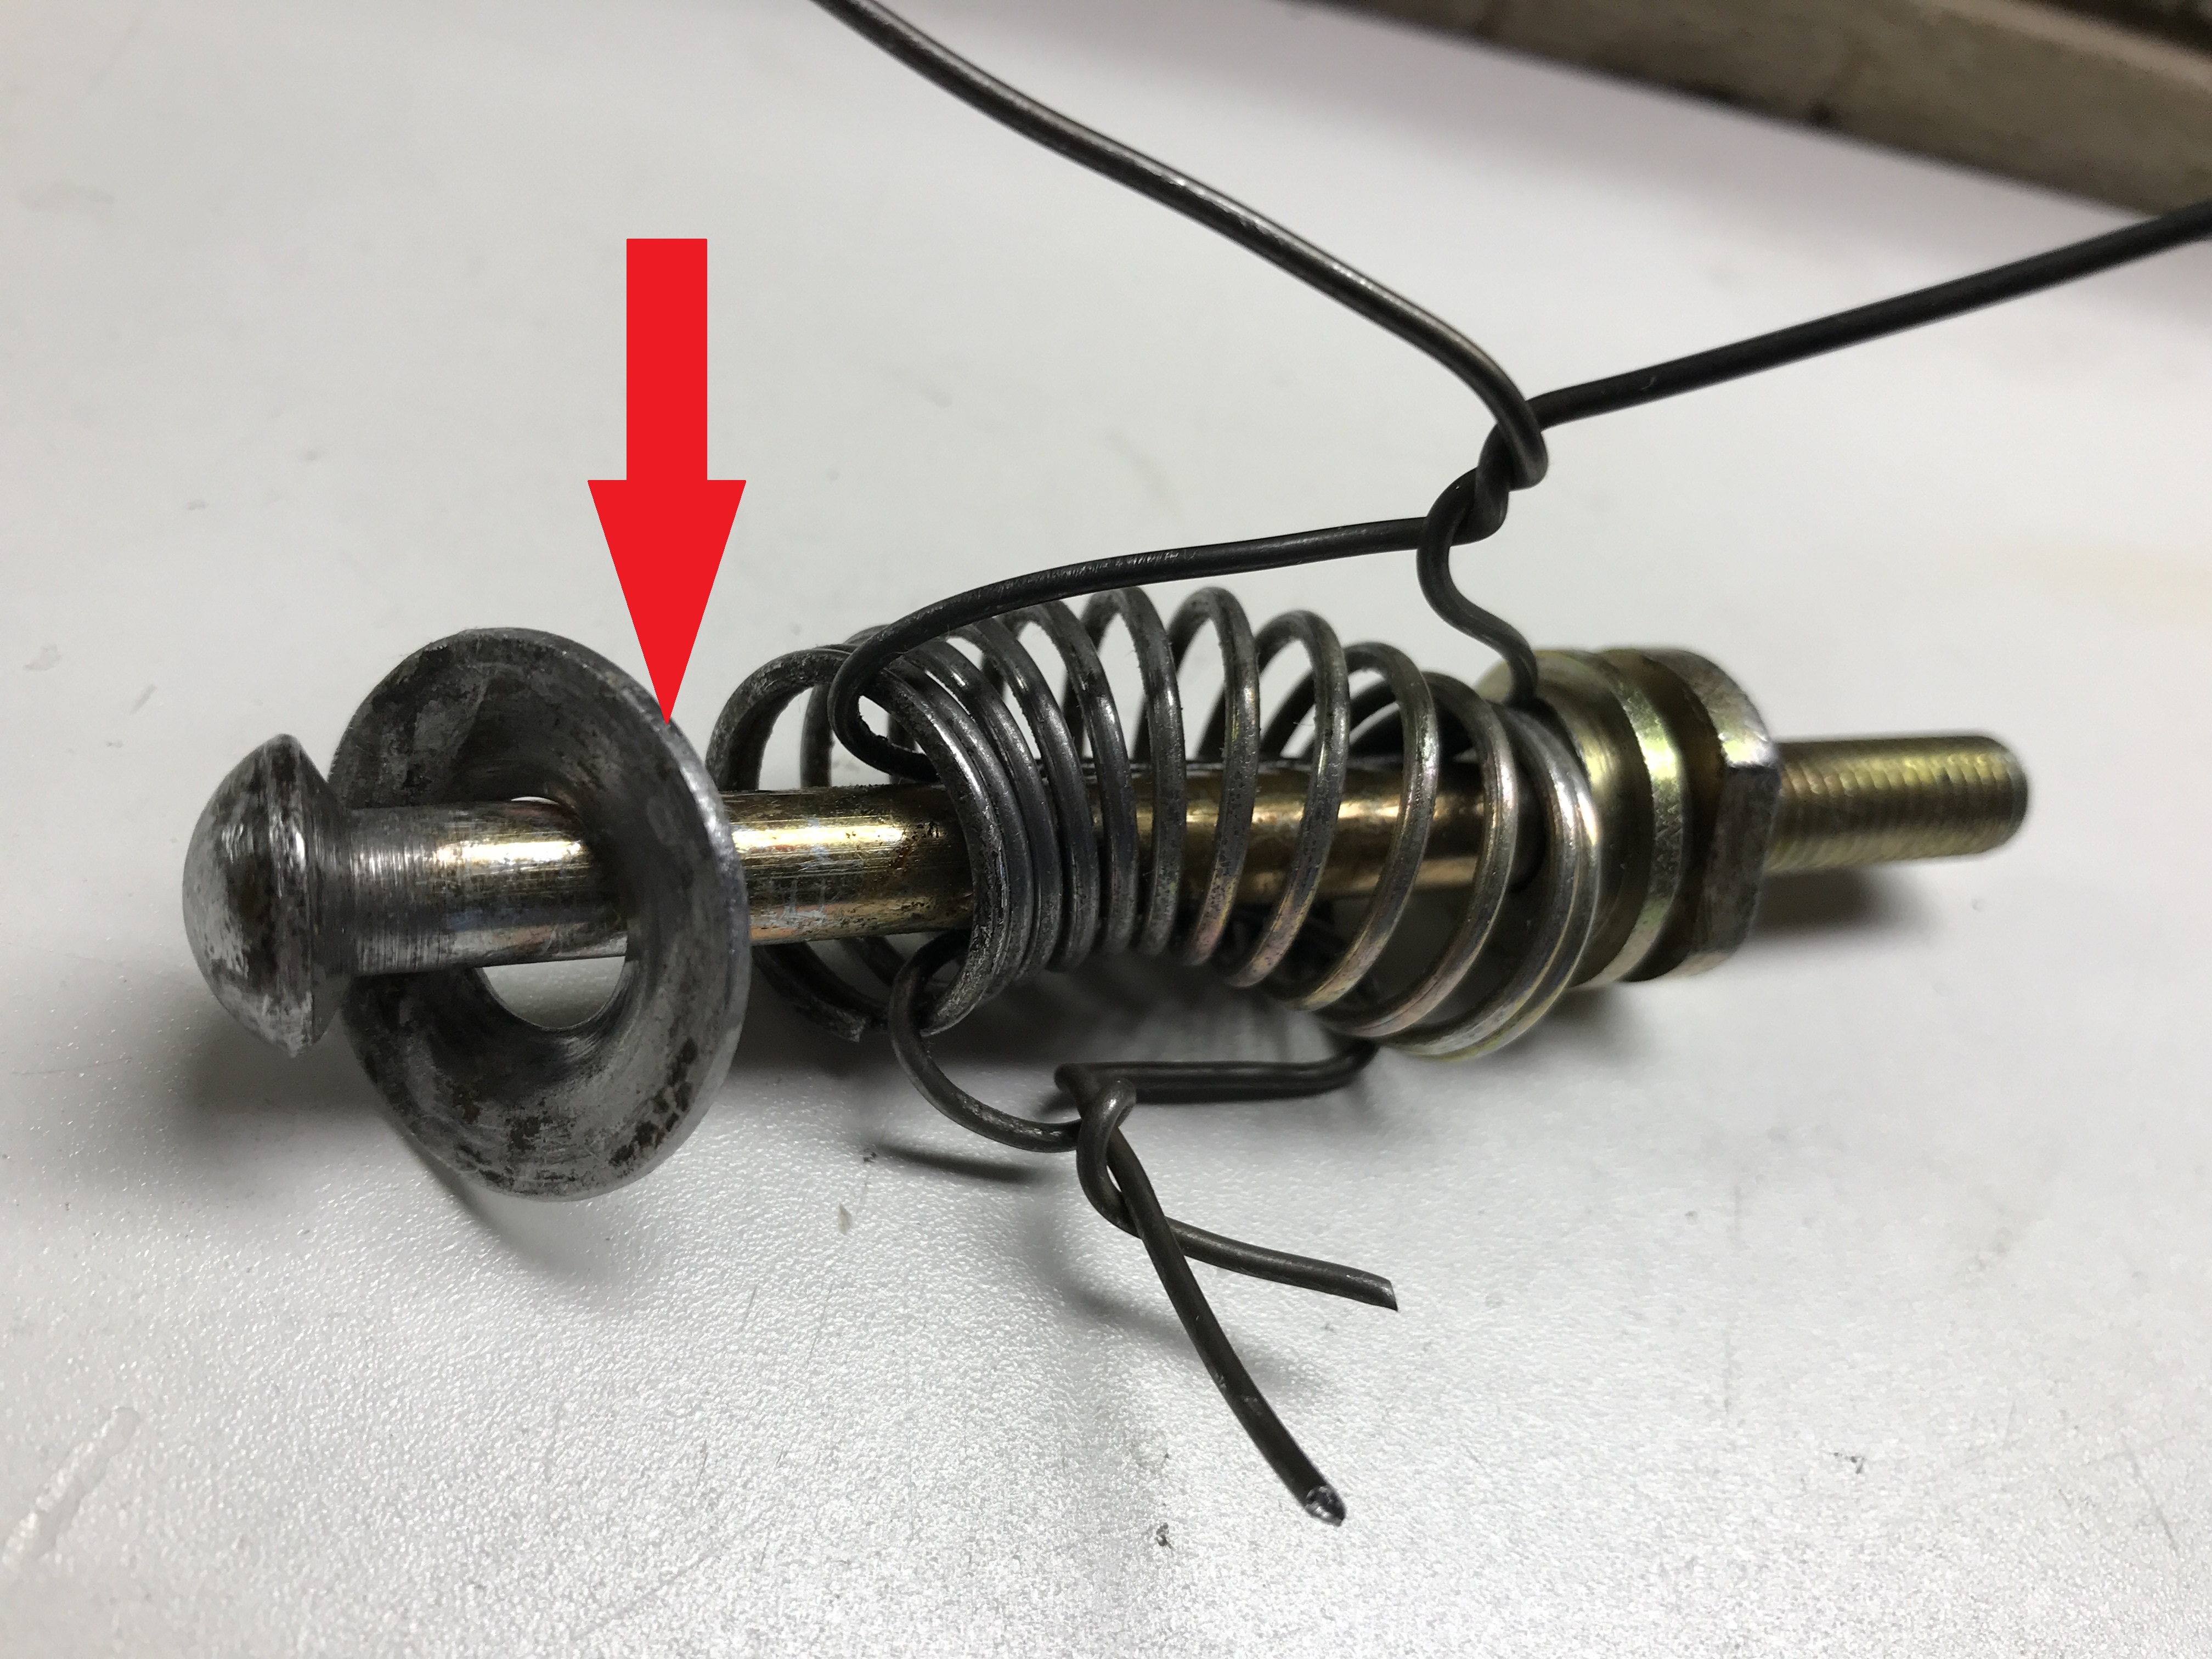
The C spring retainer was also larger than the cylinder bore. I used a vice to 'crush' it down. Just a little.

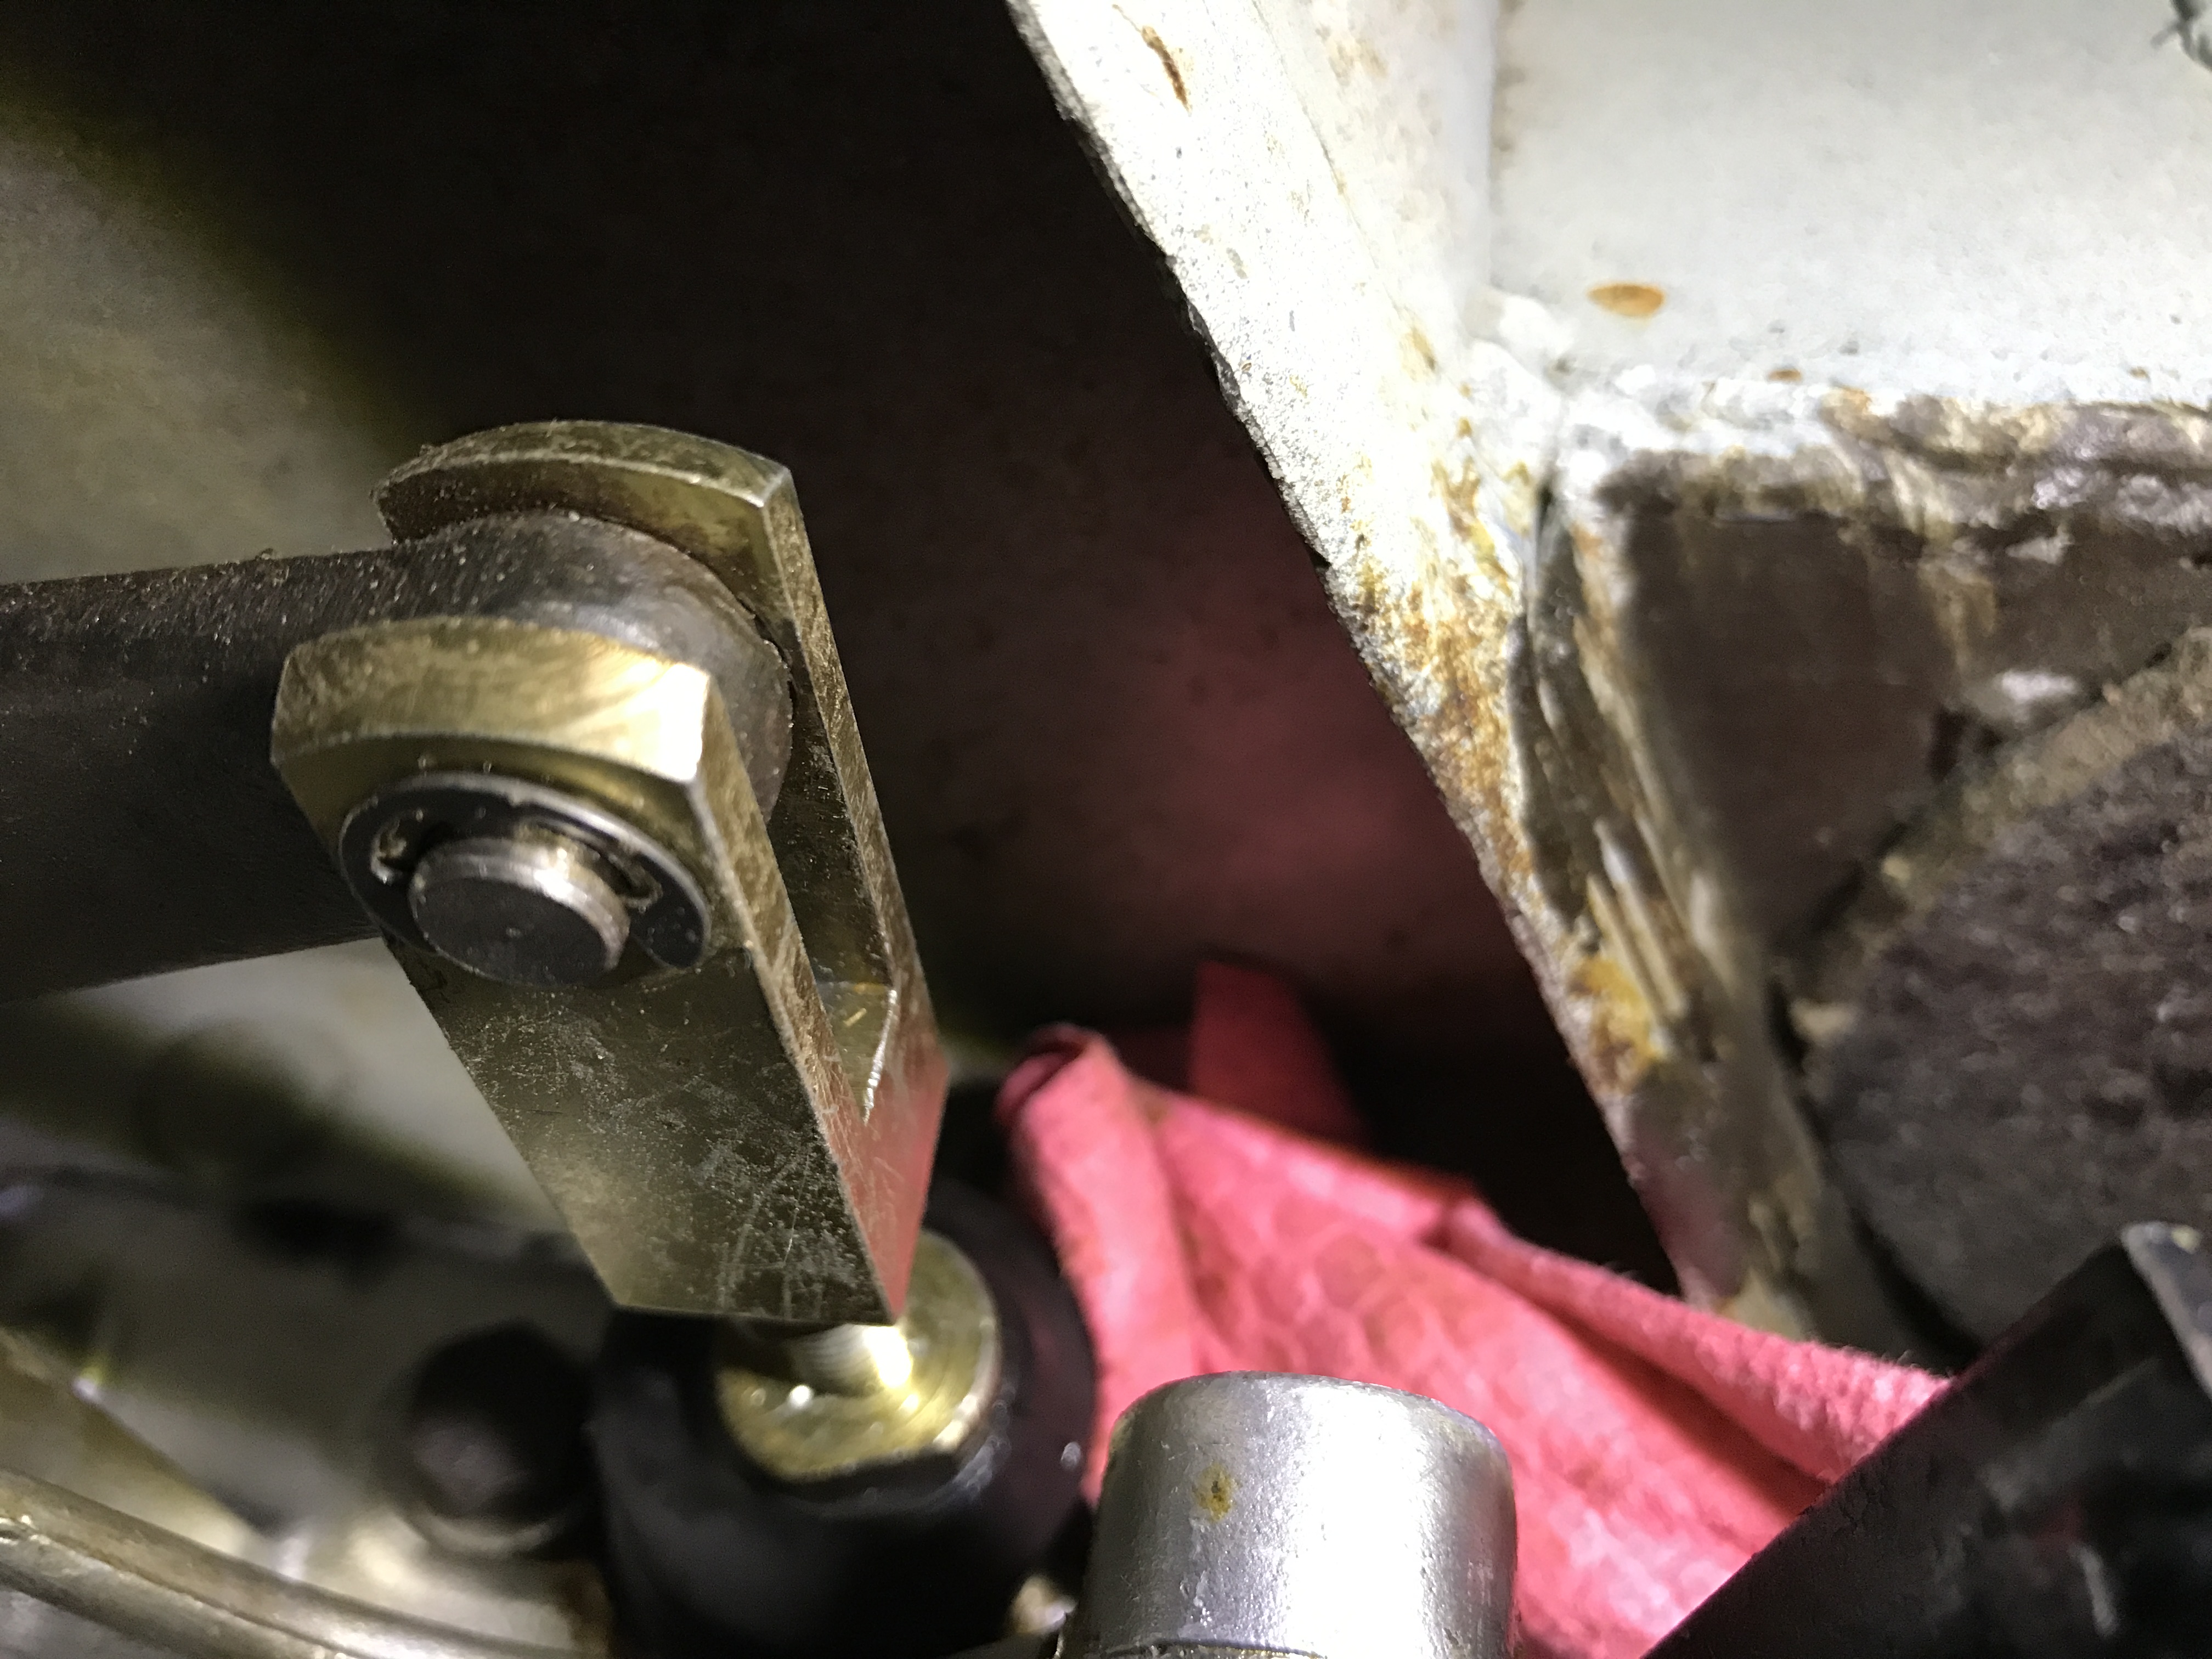
Use the jam nut to get your measurement back. Again, mine was 3.500" . Just finger tight the jam nut. You are going to need a final adjustment after the clutch cylinder is installed in the car.
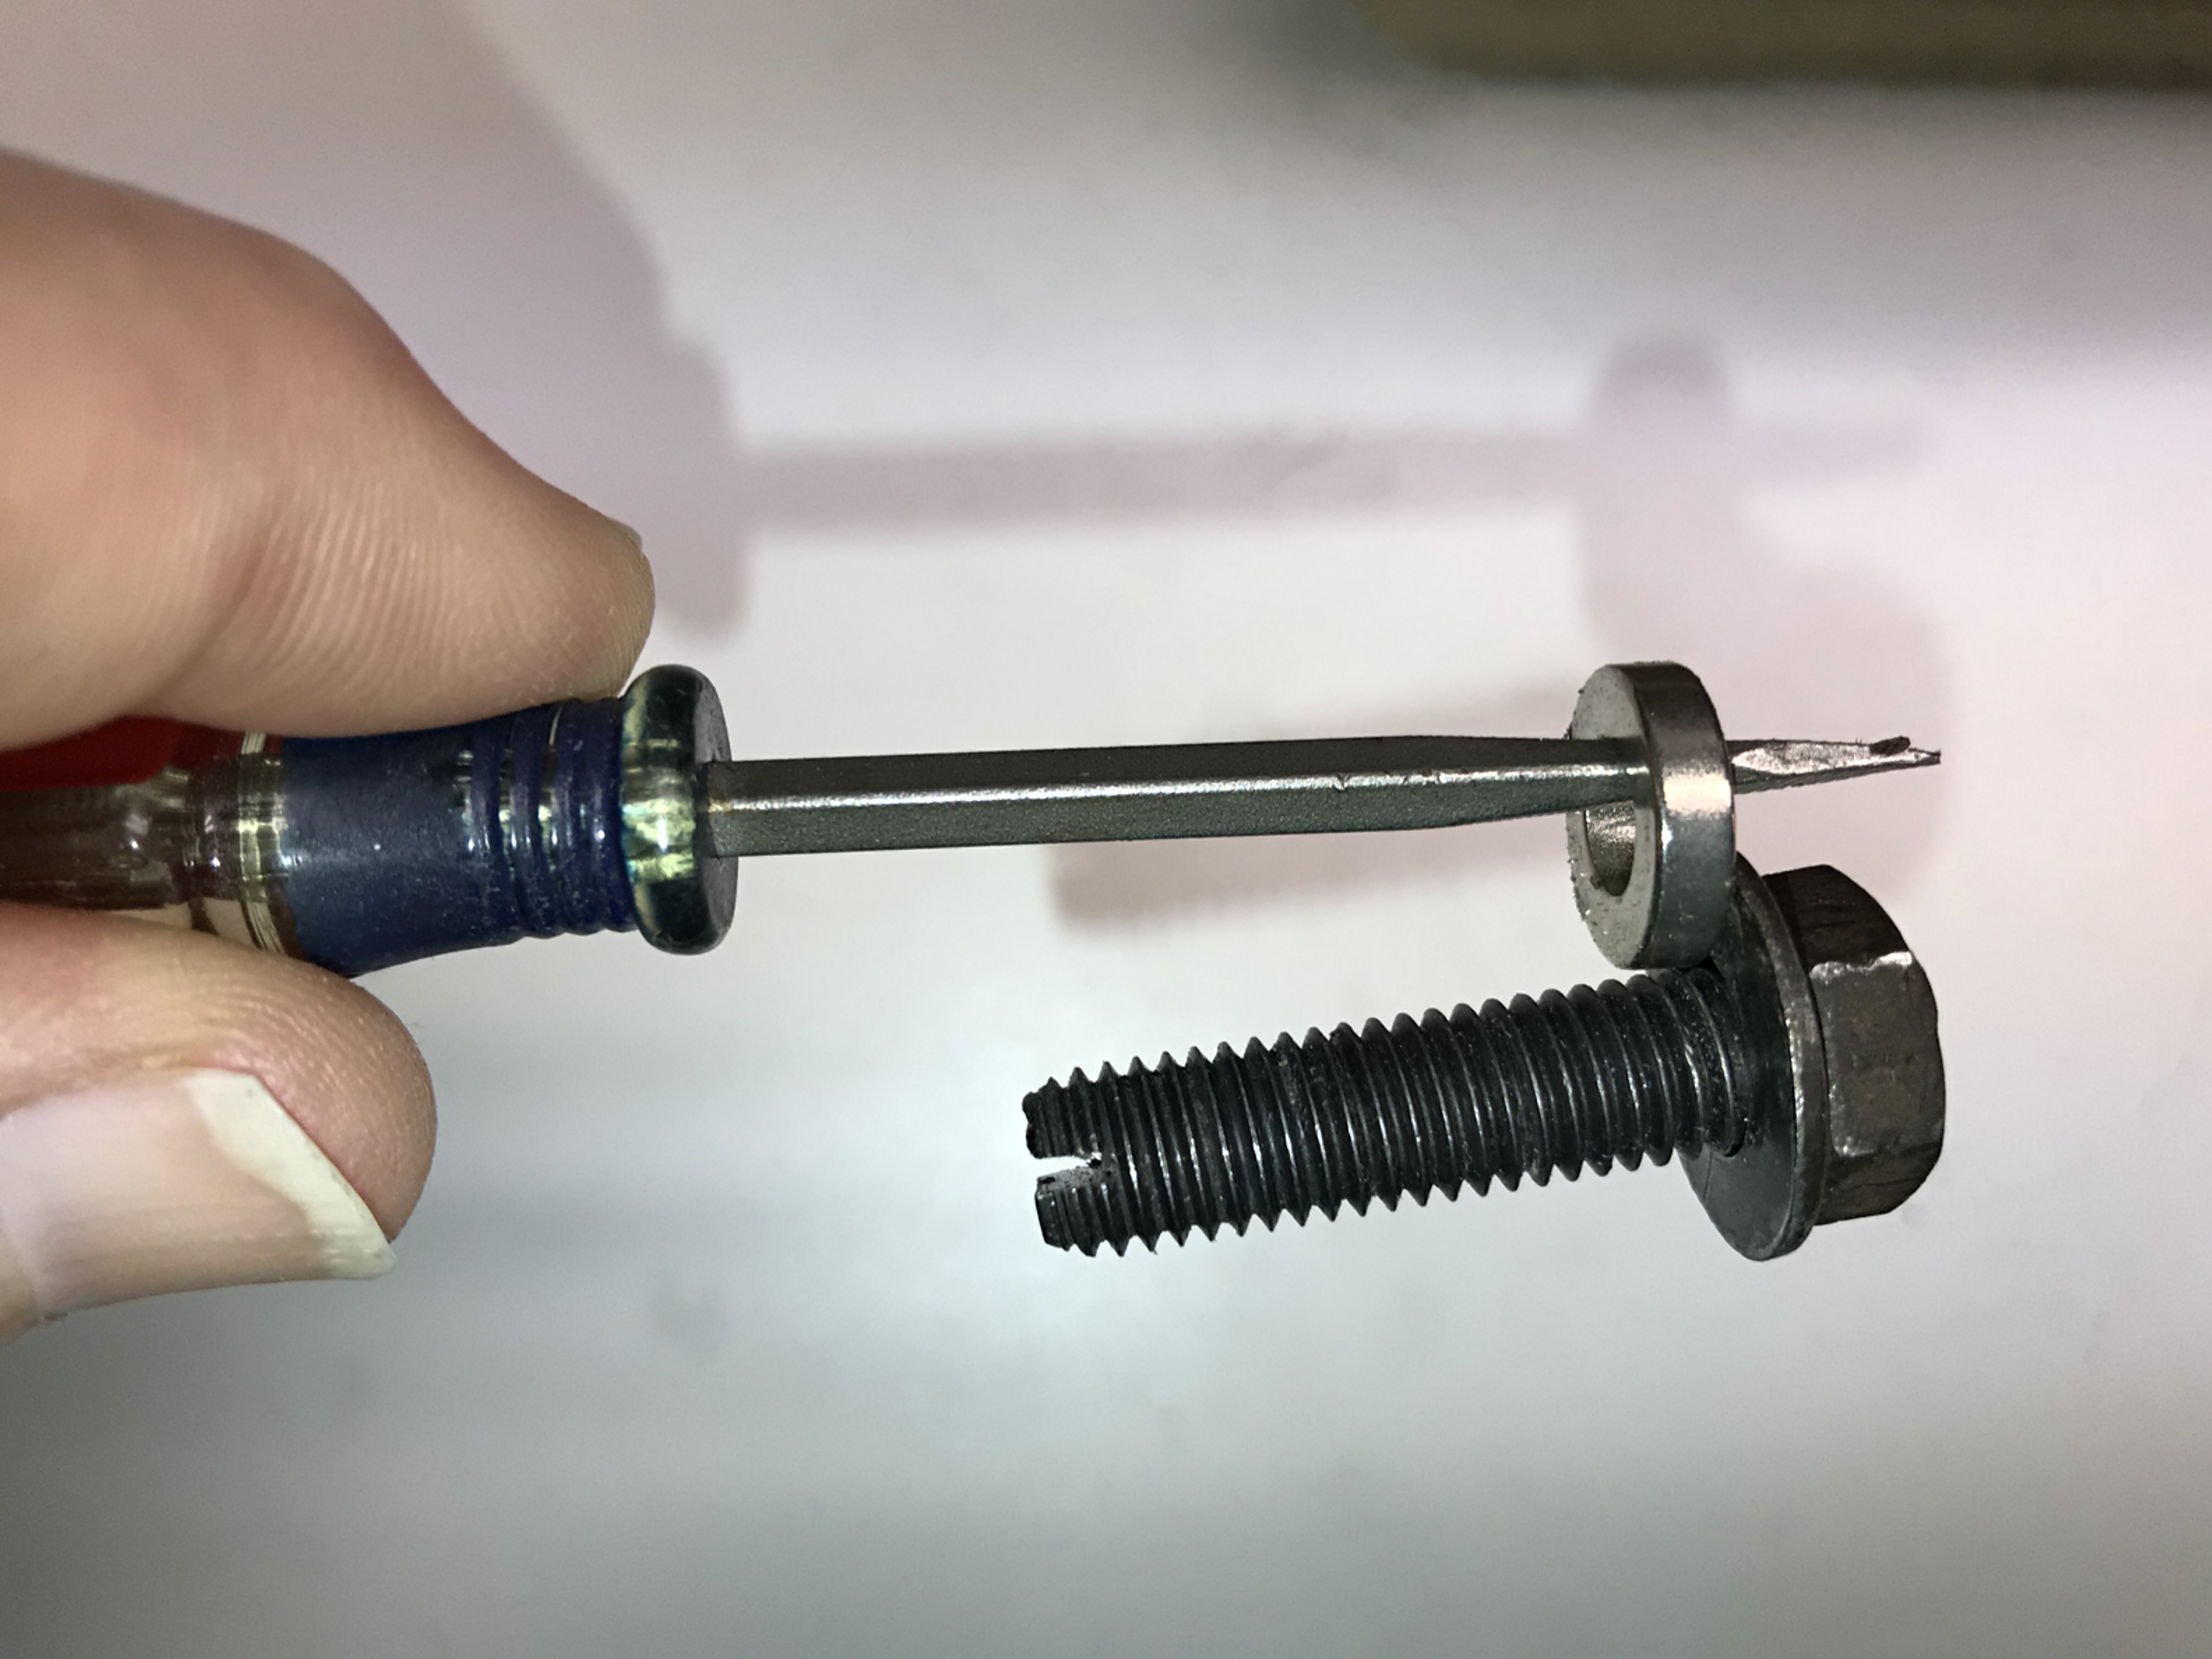
To hold the two mounting bolts during assembly into the car, I cut a slot in the end of the bolts so I can use a screwdriver to steady the bolt while I turn a nut onto it and tighten it. This will eliminate getting under the dash. I used a Dremel with an abrasive blade to start a cut across the bolt. Then used a hacksaw to cut down to depth.


For ease of install, I purchased a stainless clevis pin and hitch pin clip at Home Depot. West Marine also has.


To fish the mounting bolts into their holes, I used a magnet. When I say I want to avoid getting under the dash, I mean, I want to avoid getting under the dash.

I then use the magnets to steady the bolts while I slide the Master cylinder into place. The mounting plate is made of aluminum so the magnets will not stick to it, unfortunately. But, sticking to the bolts was enough. Slide the cylinder on and then take the magnets out.


Tighten the two mounting bolts as shown.


Now, under the dash again, looking up into the pedal box, you have to turn the clevis until the hole lines up perfectly with the hole in the arm of the clutch pedal shaft. Make sure the clutch pedal is all the way out. I used a bungee to hold it up. The clevis pin should slide in without the push rod moving. If the push rod compresses into the cylinder just a little at all, brake fluid will not be able to flow from the reservoir and you will not be able to bleed the system. Ask me how I know this. Before sliding the clevis pin in, dab some wheel grease on. Trying to extend the life of the clevis holes from going elongated. So now bleed, set clutch free play, Done.
